explainer
Meal Prep Containers: Glass vs Plastic, and What Actually Matters
How to choose meal prep containers that survive the microwave, freezer and dishwasher — glass versus plastic, lids, compartments, sizes — plus the USDA storage rules that decide how long prepped food is safe.
Meal prep lives or dies on boring details. If the lid leaks into your bag, the container stains orange after one batch of chili, or the food tastes like the fridge by Wednesday, the habit quietly stops. Containers are not the exciting part of eating well, but they are the part that decides whether Sunday’s cooking actually gets eaten.
Here is how I’d choose them, what to look for on the label, and the food safety rules that matter more than any container.
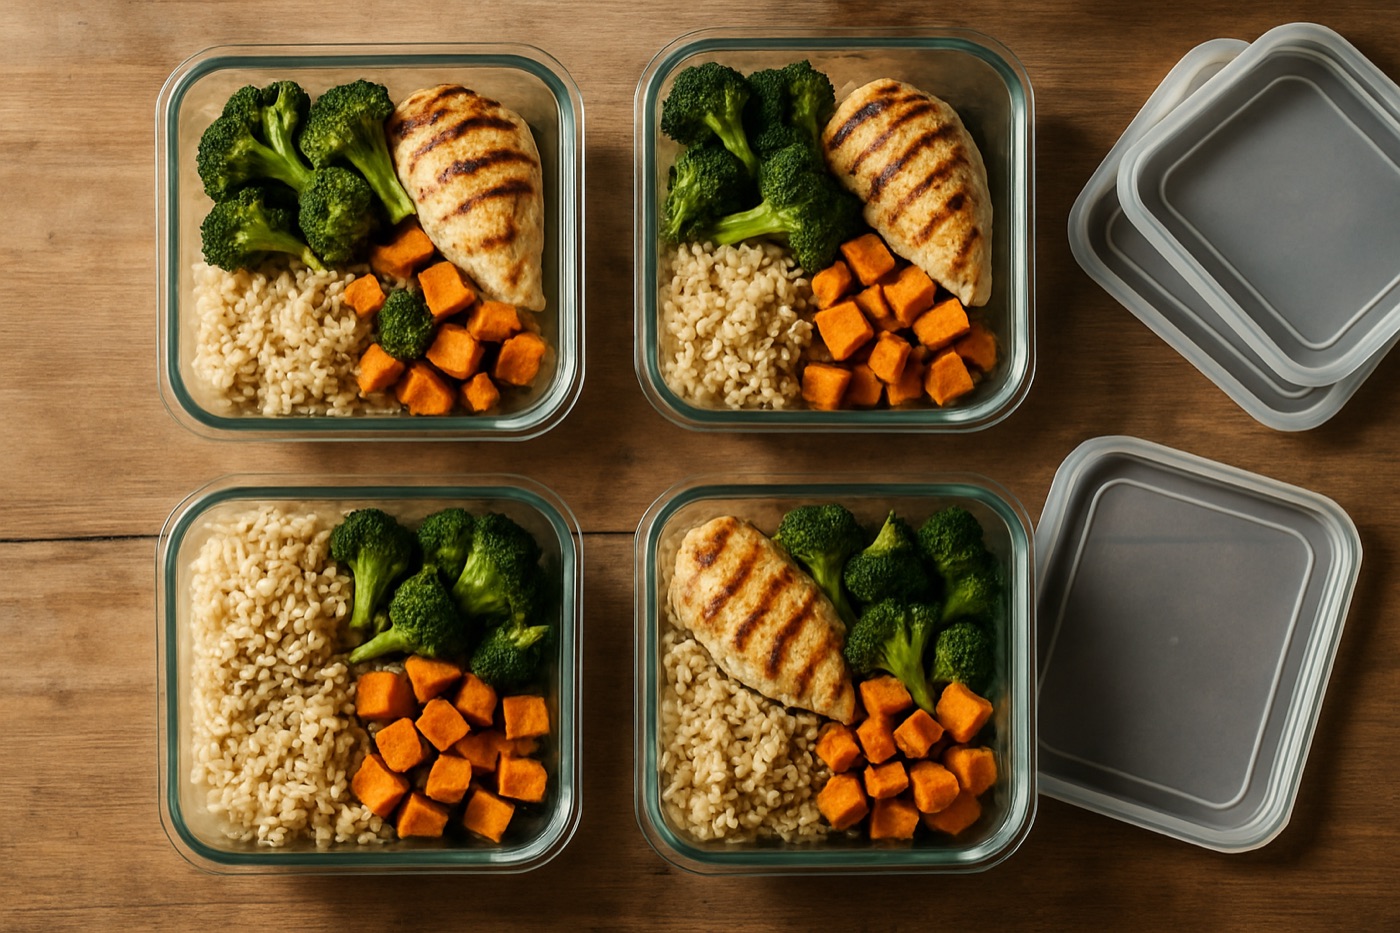
Glass or plastic
Glass — usually tempered soda-lime or borosilicate — is the better material for food you reheat. It doesn’t absorb odors or stain, it holds up to the microwave and often the oven, and it lasts for years if you don’t drop it. The trade-offs are weight and breakage. A bag with three glass containers in it is noticeably heavy.
Plastic is light, cheap and nearly unbreakable, which makes it ideal for carrying lunch. It stains with tomato and curry, picks up smells, and can warp or craze after repeated hot cycles. Most food containers sold today are BPA-free, but “BPA-free” doesn’t mean safe to heat indefinitely. Heat and fat speed up chemical migration from any plastic, so reheating in glass is the cautious habit.
A practical split: glass for anything that gets microwaved, a few plastic containers for salads, snacks and days you’re carrying a lot.
Lids decide whether it leaks
The lid is where most containers fail. Snap-lock lids with a silicone gasket and four locking tabs seal far better than press-on lids. Check that the gasket comes out for cleaning, because food trapped under a fixed seal is where mold and smells start.
Glass bases usually come with plastic lids, and the lid wears out first. It is worth buying a brand that sells replacement lids, so a cracked tab doesn’t mean throwing away a perfectly good glass base.
Compartments, sizes and shapes
Divided containers keep wet and dry foods apart and make portions obvious at a glance — useful if you track macros and want each meal to look the same. Single-compartment containers are more flexible and easier to clean. Most people do well with a mix.
For sizes, a 3- to 4-cup container fits a full lunch or dinner. Small 1-cup containers handle sauces, dressings and snacks. Rectangular shapes stack and use fridge space better than round ones. Before you buy a set, check that the empty containers nest inside each other. Cupboard space runs out quickly.
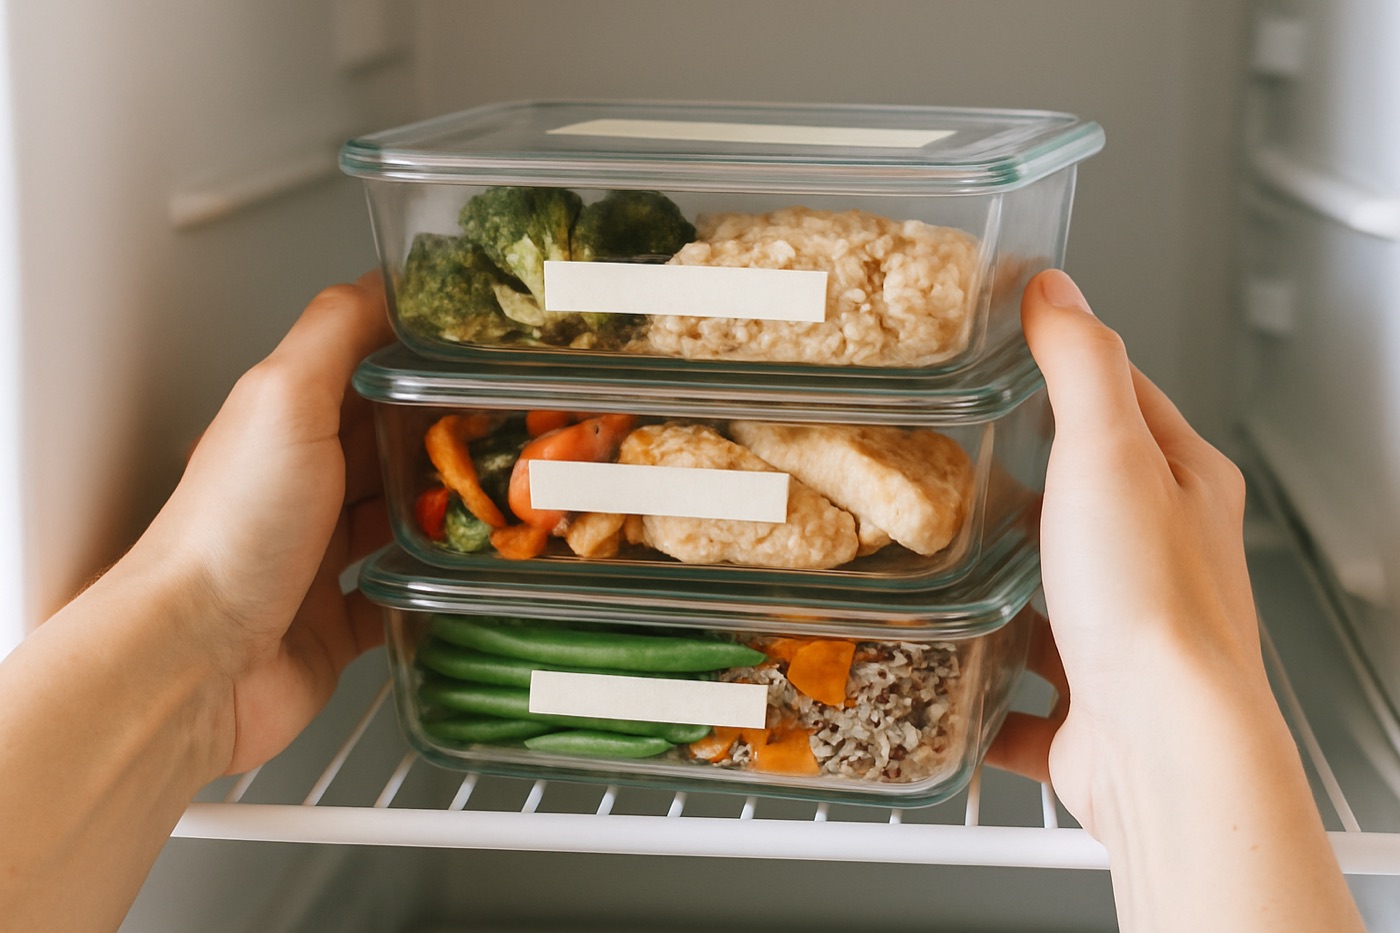
Microwave, freezer and dishwasher
- Microwave: use only containers labeled microwave-safe, and vent or remove the lid. Stir halfway so food heats evenly. Uneven reheating is how cold spots survive.
- Freezer: leave about half an inch of headspace, because liquids expand as they freeze. Let hot food cool before it goes in, and don’t move glass straight from freezer to a hot oven — sudden temperature changes can crack it.
- Dishwasher: lids generally last longer on the top rack. Hot cycles shorten the life of gaskets and plastic.
The food safety rules that matter more
The container is the easy part. These USDA rules decide whether prepped food is safe:
- Refrigerate within two hours of cooking, or within one hour if the room is above 90°F (32°C). Shallow containers cool faster than deep ones.
- Eat refrigerated leftovers within three to four days. That’s why a full seven-day prep needs the freezer.
- Keep the fridge at 40°F (4°C) or below and the freezer at 0°F (−18°C).
- Reheat to 165°F (74°C) throughout, especially rice, poultry and anything with sauce.
- Label the date. Masking tape and a marker beat guessing on Thursday.
How I’d build a starter set
- Four to six glass 3-cup rectangular containers with snap-lock lids for main meals.
- Two or three 1-cup containers for sauces and snacks.
- Two light plastic containers for travel days.
- A roll of masking tape and a marker.
That set covers a five-day work week with room to spare, and it is easy to grow once you know how you actually prep.
The bottom line
Choose glass for reheating and plastic for carrying, judge containers by their lids, and buy sizes that fit how you eat and how your fridge is laid out. Then follow the three-to-four-day rule and the freezer for the rest of the week. Good containers make meal prep easier to keep doing. Good storage habits make it safe.
FAQ
How long does meal prep last in the fridge?
USDA guidance for cooked leftovers is three to four days in a refrigerator at 40°F (4°C) or below. If you prep for a full week, freeze the meals for days five through seven and move them to the fridge the night before.
Is glass or plastic better for meal prep?
Glass is better for reheating and lasts longer: it doesn't stain, hold odors or warp in the microwave. Plastic is lighter and cheaper, which matters if you carry lunches every day. Many people end up with glass for home and a few plastic containers for travel.
Can I microwave food in plastic containers?
Only in containers labeled microwave-safe, and preferably with the lid off or vented. Heat and fat speed up the transfer of chemicals from plastic into food, so reheating oily or tomato-based meals in glass is the cautious choice.